
For about a year and a half, the faucet in our kitchen sink hasn’t rotated. We have two sinks, like most people, and the faucet has been stuck over the left sink for all that time. Finally yesterday Laralee said in an exasperated tone, “Why can’t we have a faucet that works?”
Since my Saturday afternoon was actually wide open (for a change), I climbed under the sink to take a look. I fiddled around a bit but didn’t see anything obviously wrong, so I decided to just take the whole thing apart to see if there was something that could be re-aligned or whatever. It turns out the faucet mount was screwed on tighter than a mere mortal could undo, and the nut was completely inaccessible to any reasonable wrench. I spent a solid 30 minutes laying under the sink wrestling with pliers, a flashlight in my mouth, to get the stupid nut off. Finally it came free (raining little bits of rust and metal in my eyes) and I was able to remove the faucet.
An inspection of the faucet showed that something was broken inside– it’s not clear what– but given my adventure in frustration, I decided we should just get a new faucet. Laralee and I headed over to Lowe’s to take a look at their selection. I think the cheap faucets are around $90; the most expensive ones are over $300. Wow. For that price, they’d better do the dishes for me.
We turned around to see an array of sinks, some of which were “complete kits” that included faucets and drains. Since our sink is 15 years old and sort of pitted and worn, we thought maybe we should just replace the whole darn thing. The price wasn’t that much different than just buying a nice faucet anyway. So we picked one, confirmed with one of the Lowe’s guys that we wouldn’t need anything else, and hauled it home.
“How hard can it be?” I said to myself. I mean, come on, you pop out the old sink, drop in the new one, hook up the water lines, and you’re done, right?
Hah.
Removing the old sink proved to be pretty simple, and we had to scrape off the 15-year-old caulk and mildew around the edge.
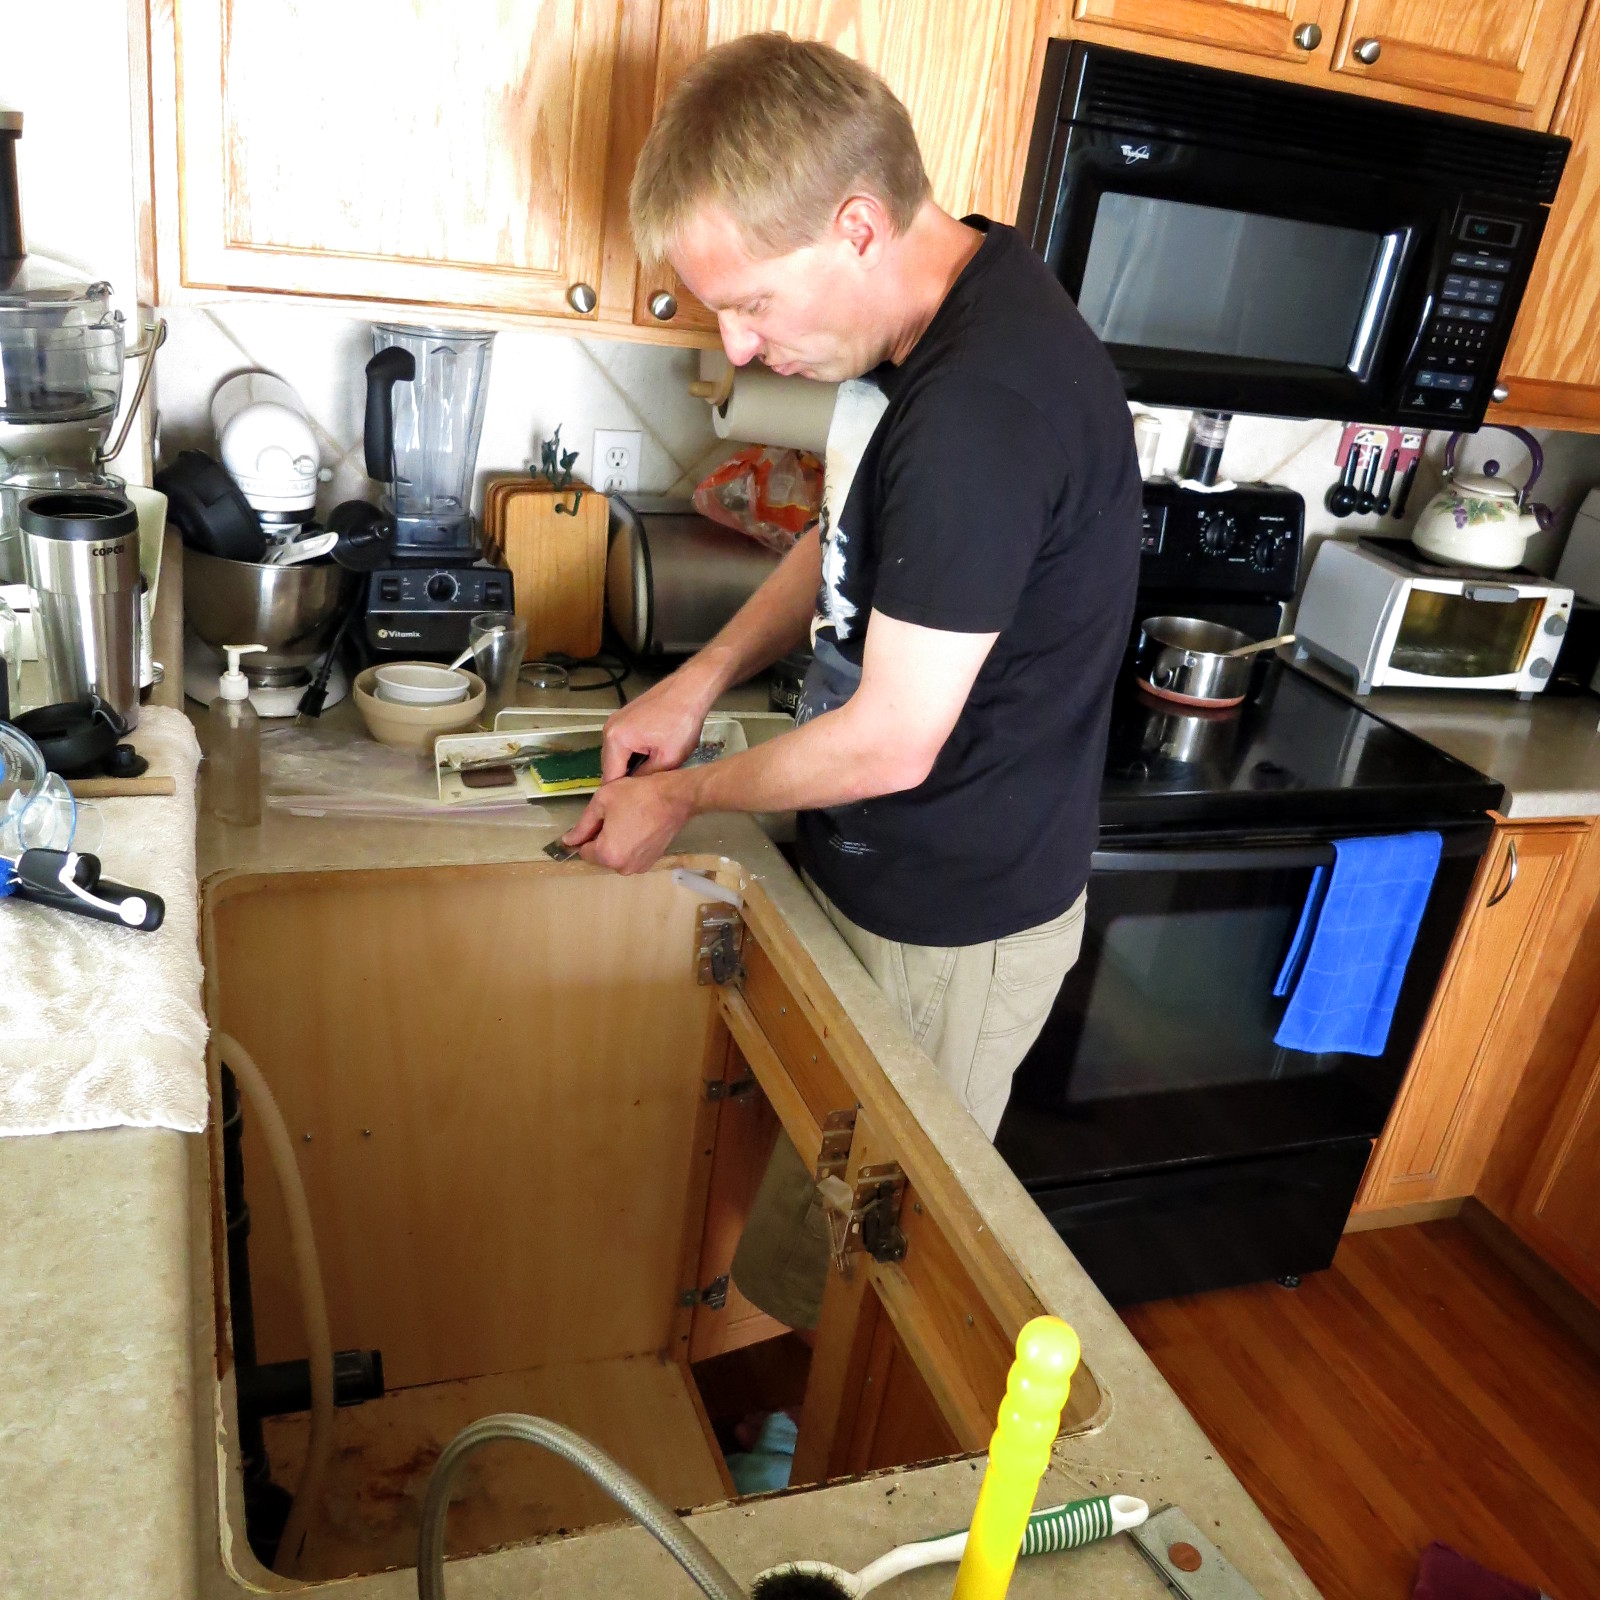
That took a while, but it wasn’t bad. We then opened up the new sink and discovered that the instructions in the box were completely different from the hardware. The pictures of the parts didn’t match at all; I can only guess they included the wrong instructions. Still, with a bit of poking at the bag of parts I figured out how the mounting brackets were supposed to work.
We lowered the new sink into the hole in the countertop… well, mostly into the hole. Even though 95% of sinks are a “standard size”, it turned out our countertop was not. The hole was about a quarter-inch too narrow from side to side, and a quarter-inch too short from front to back. Also, there were rounded corners on the countertop and the sink was definitely square. Sigh.
Fortunately the countertop is a cheap laminate atop half-inch particle board. I brought out a hacksaw and took care of the rounded corners in short order. Laralee was hesitant– what if our next sink needed those rounded corners?– but I told her if this thing lasts fifteen years like the old one, we’d be long gone and wouldn’t need to worry about it. Because we couldn’t really saw a thin quarter-inch strip off the sides, front, and back, we grabbed our wood files and went to work. I think it took us about thirty minutes of filing and re-measuring before we finally had a hole big enough to accommodate the new sink.
That’s when we realized that we needed caulk. Duh. We didn’t want to go back to Lowe’s, so we dug through the garage boxes and found some caulk from a while ago. Still fresh! We caulked along the edges and lowered the sink in place. That’s when I discovered that the mounting brackets wouldn’t work on the front and back, because the countertop was inch-thick particle board there. (For reasons I don’t understand, just the front and back were thick; the sides were both half-inch.) Oh well. I slapped extra brackets along the side and tightened them down, and we’ll hope the middle of the sink doesn’t bow up.
Because the locations of the drains and the depth of the new sink aren’t the same as the old, we learned that we’d need to get creative with the plumbing beneath it. The old pipes didn’t quite fit, so out came the hacksaw again, and a few cuts and hard shoves later we had the drain and garbage disposal in working order.
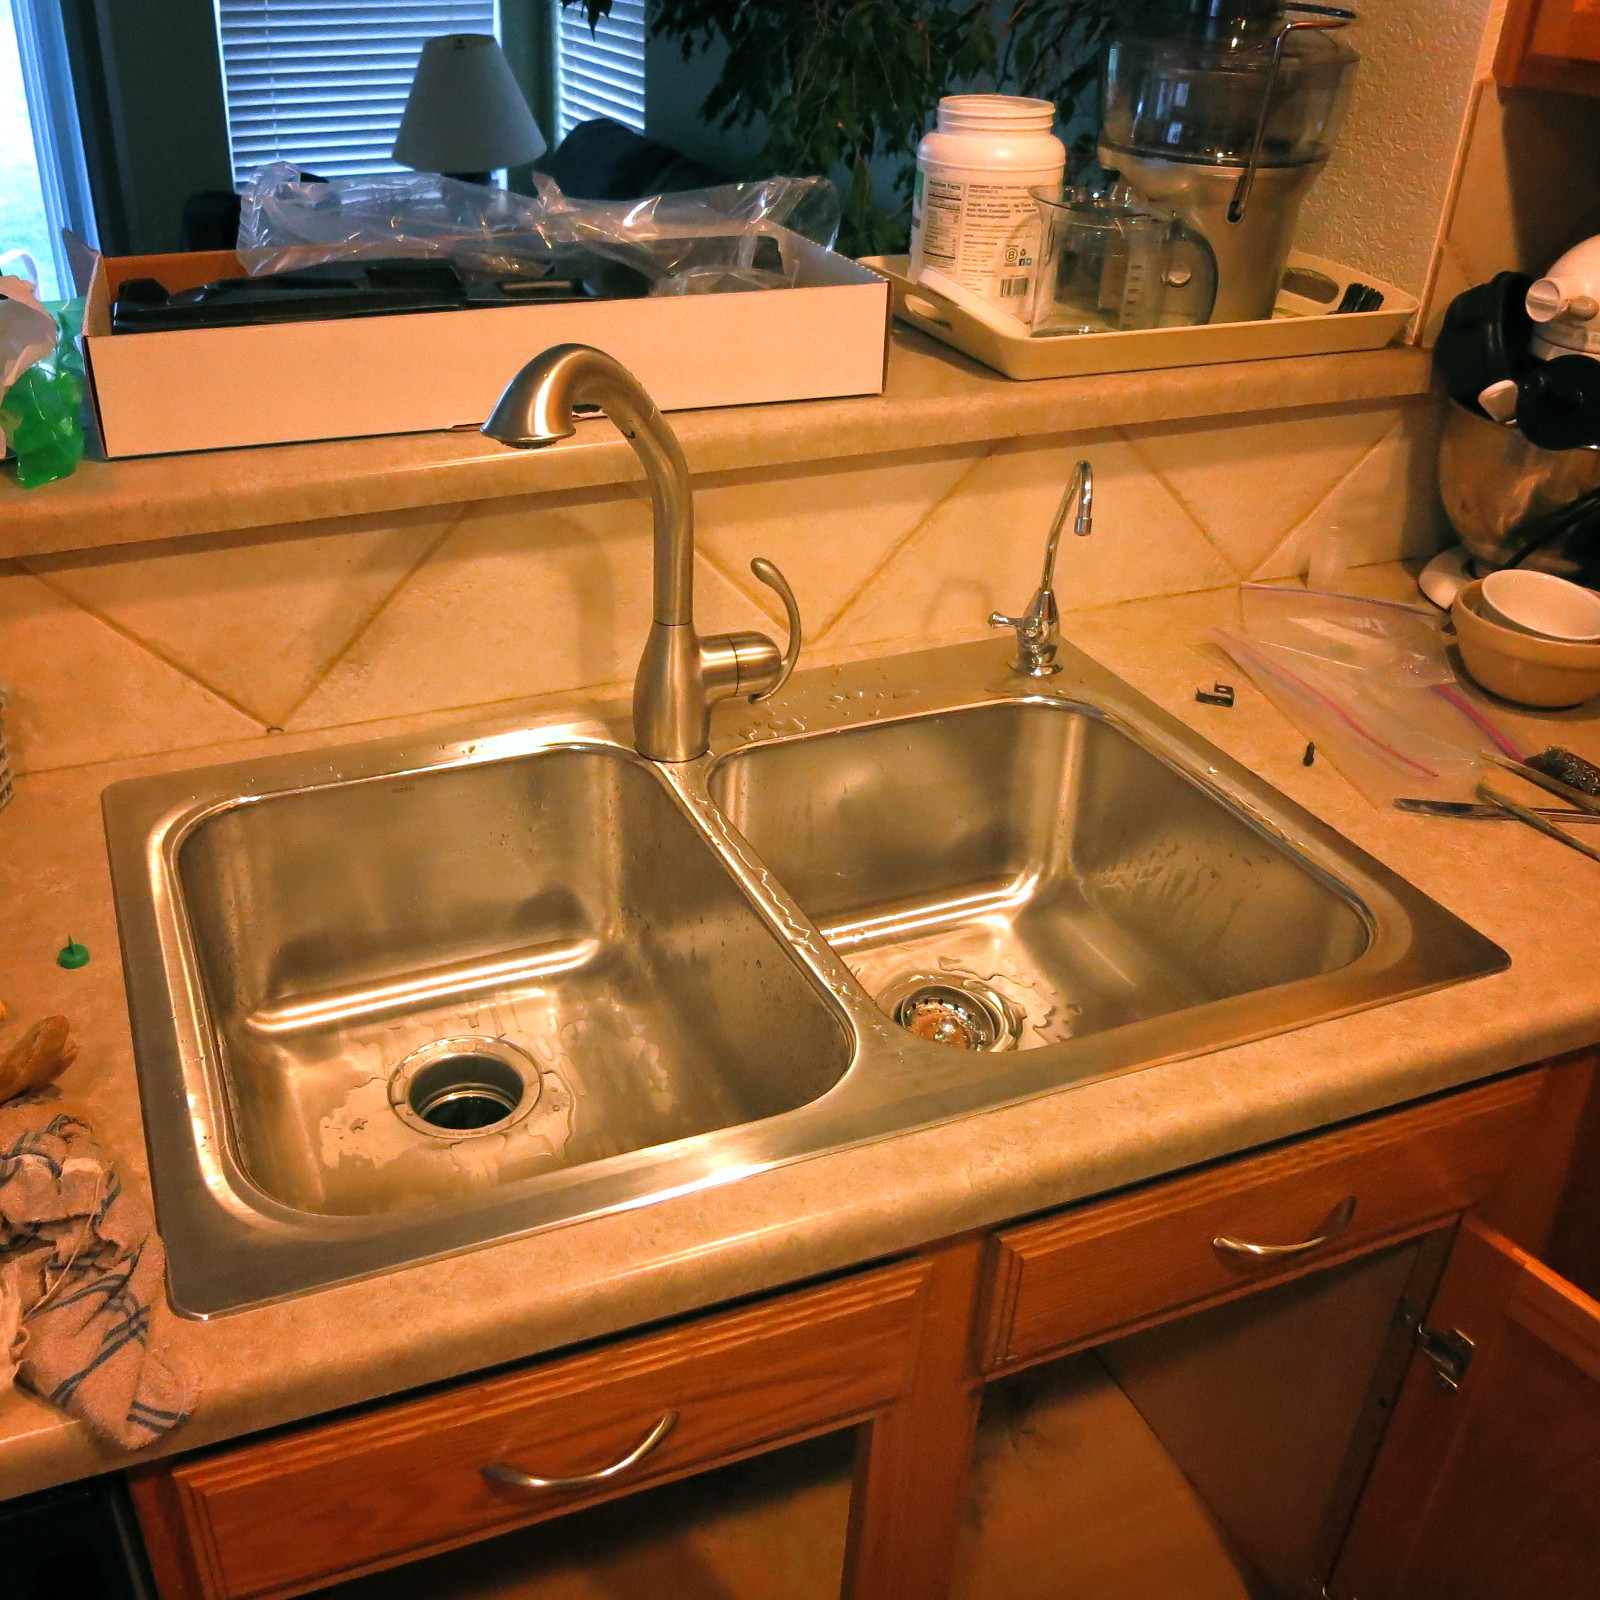
The moment of truth came. I turned on the water and it all worked! The new sink looks pretty sharp, too:
I asked Zack and Alex to take care of all the trash while Laralee and I cleaned up the kitchen. The boys took the enormous cardboard box to the backyard and proceeded to slash it to little pieces with a sword.
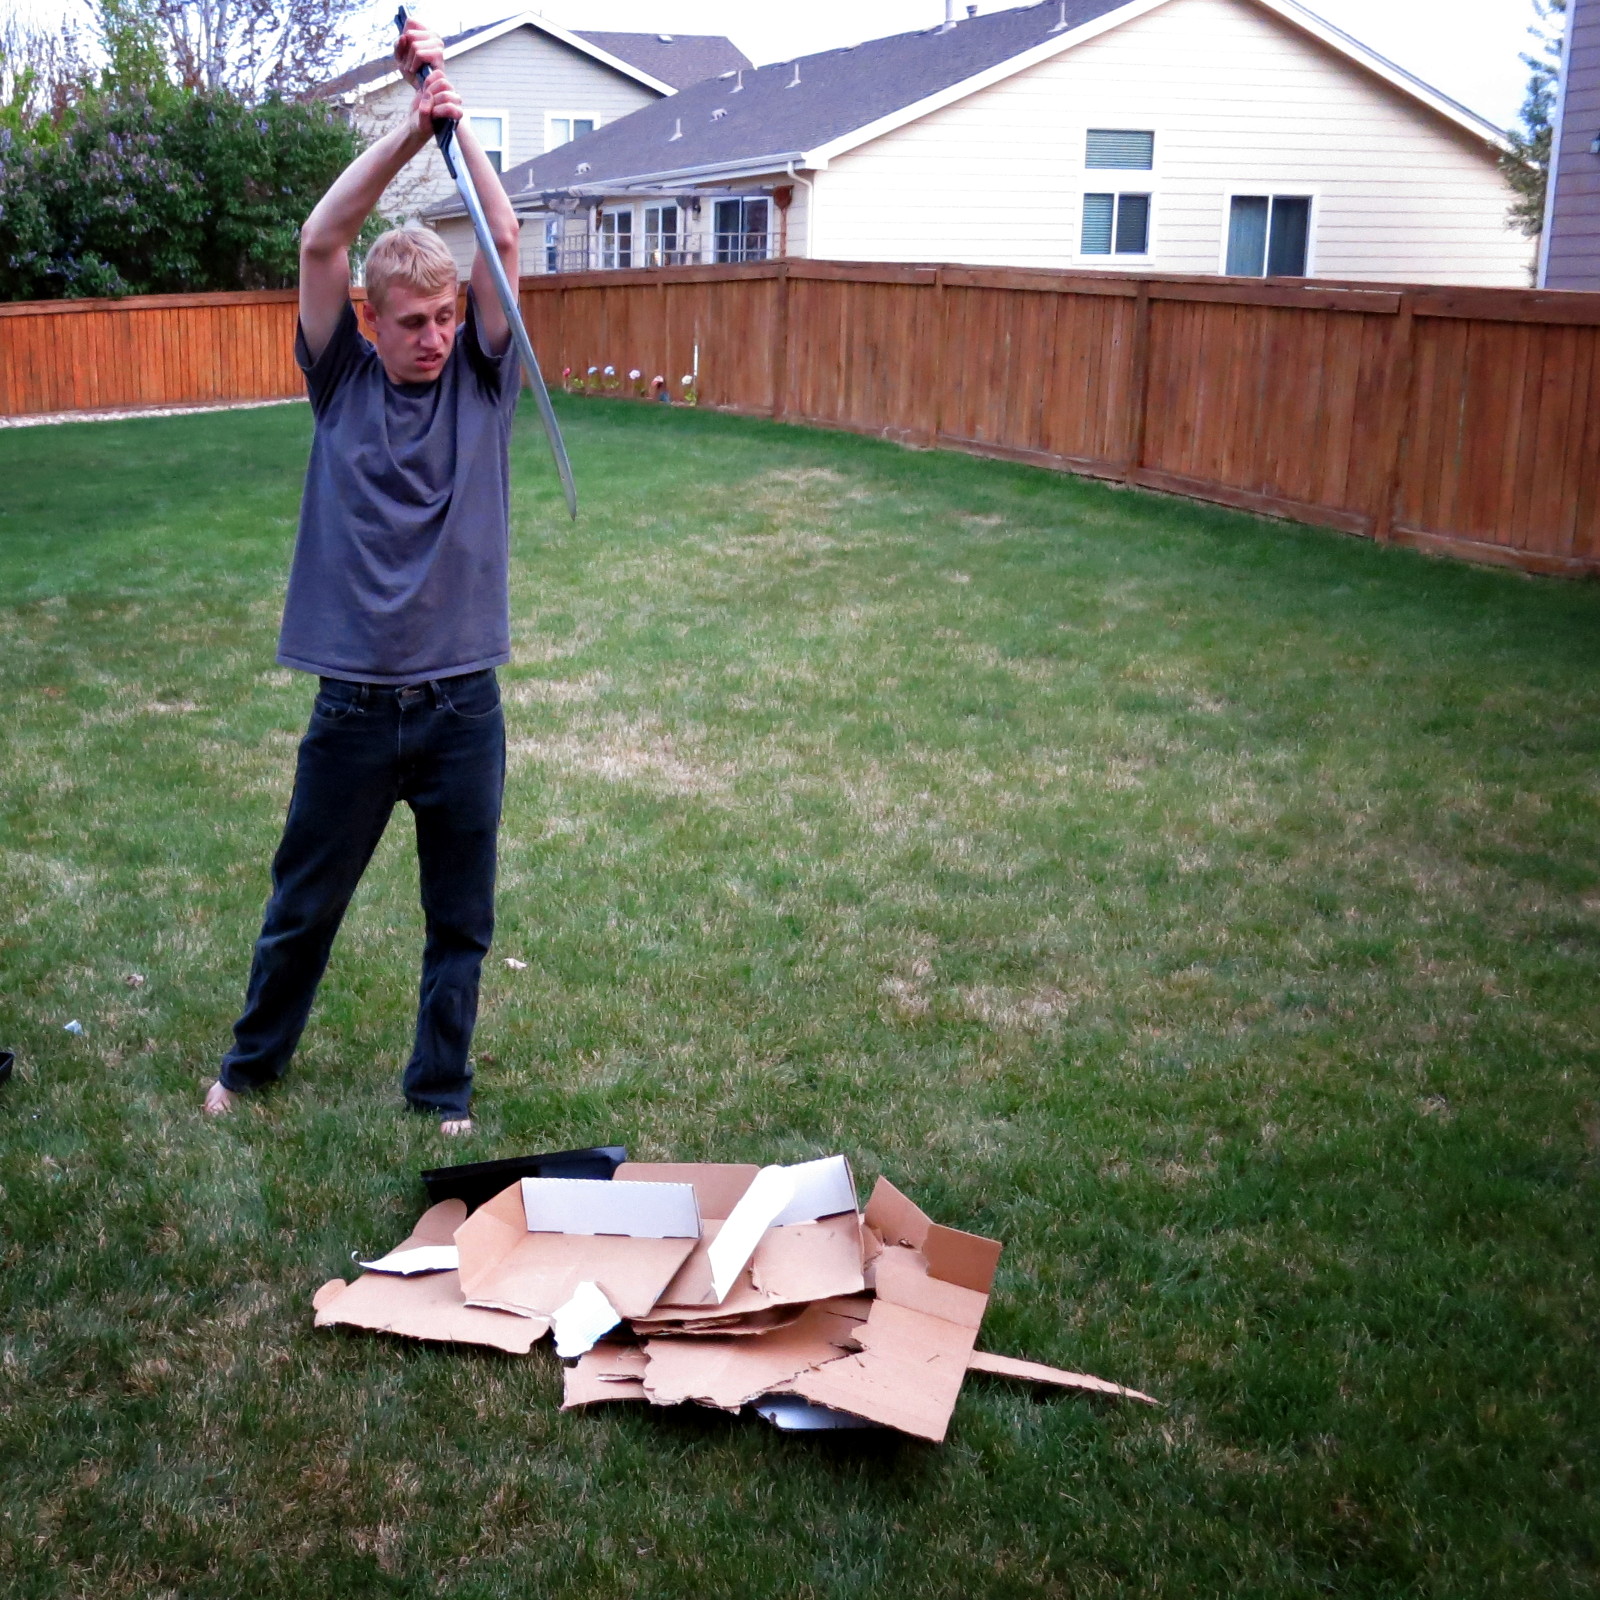
Hey, if you have a sword, why not use it?
In the end, I learned two things:
1) If you start a home project thinking “How hard can it be?” you’re already in trouble. Something that you suspect might take an hour or so will end up taking four and cost twice what you thought.
2) I never want to be a plumber.